

Getting your home ready for AC installation doesn't need to feel overwhelming. With summer temperatures climbing in The Woodlands, installing a new AC system is a smart move for comfort and air quality. But before the installation begins, some simple preparations can help the process go smoothly and reduce delays. A little planning ahead of time helps protect your property, ensures proper access, and lets the technicians focus on a clean, efficient setup.
Many homeowners in The Woodlands schedule AC installation at the beginning of summer. This timing helps avoid breakdowns during peak heat. If your system has been underperforming or your energy costs have jumped, it's probably time to replace it. Getting things in order before installation day allows for a hassle-free process and a better result.
Assessing Your Current System
Before bringing in a new AC unit, it’s important to take a good look at your current system. A unit that's older, runs constantly, or leaves parts of the home feeling sticky or hot might be struggling to keep up. If you're noticing odd noises, strong odors, or higher utility bills, these signs often point to a failing system.
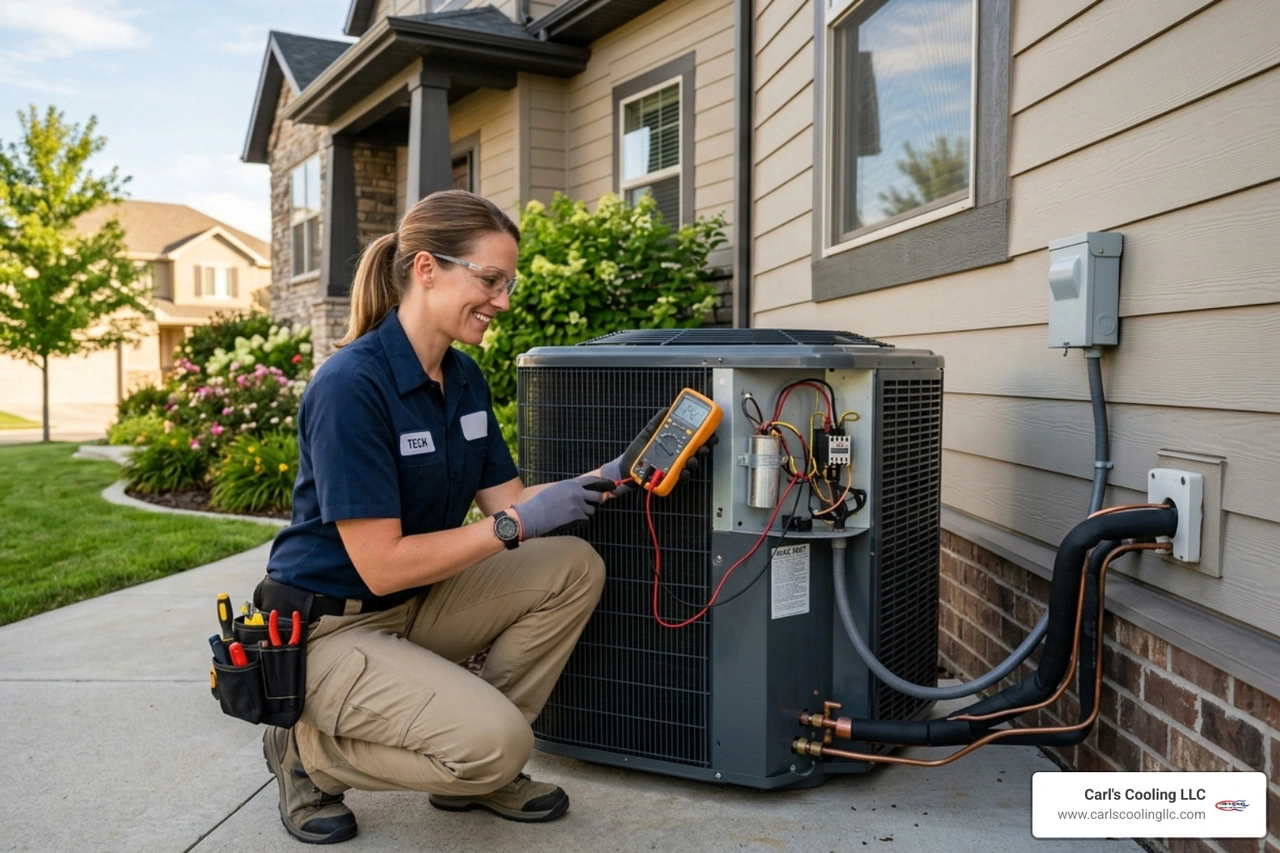
Trying to figure out if you need a new system can be difficult, especially when symptoms are subtle. That’s where a professional inspection makes all the difference. Our professionals can examine your current cooling system, evaluate its performance, and give straightforward guidance on whether repairing or replacing is the better move. In many cases, repeated repairs cost more over time than a full system replacement.
Common signs that it may be time to replace your current unit:
1. Frequent repairs or service calls within the past year
2. Uneven temperature zones throughout the home
3. A system over 10 years old that uses outdated technology
4. Higher energy bills without any change in usage
5. Unusual odors or noises when the unit is running
Getting your air conditioning system checked out before the summer heat hits full force helps avoid mid-season emergencies. It also ensures you're not investing in an installation that won’t fix the root of the issue.
Preparing the Installation Area
Once it’s clear that a new AC system is the right choice, the next step is preparing the space where the installation will take place. Taking a little time to get the area ready can help installation go quicker and prevent last-minute delays.
Start by clearing away anything that might block access to the area near your current HVAC system. Whether it's stored boxes in a garage, furniture around a wall-mounted unit, or bushes crowding the outdoor compressor area, our technicians will need room to move equipment in and out. Anything that’s within three feet of the unit should be cleared out.
Also, make sure:
1. Pets are secured in another part of the home during the appointment
2. Electrical outlets near the system are accessible
3. Fragile décor, electronics, or wall items are removed nearby
4. The path from the door to the unit is clear of rugs or cords
Proper airflow is another thing to keep in mind. If your system has ever struggled with air circulation or created hot spots, point that out to the technicians during the install. They can take that into account when planning the layout and placing vents or the new unit.
These small steps add up to a more seamless install and reduce any chance of delays caused by blocked access or limited space. It also helps the team stay focused and work efficiently in your home.
Scheduling a Professional Installation
Once the area is ready, the next step is coordinating with a trusted team to complete the installation. Many homeowners in The Woodlands forget that summer is the busiest time of year for AC system replacements. Waiting until the unit breaks down can lead to long delays and tight scheduling. Planning ahead lets you secure an installation date that works with your calendar before the summer rush makes it harder to find an open slot.
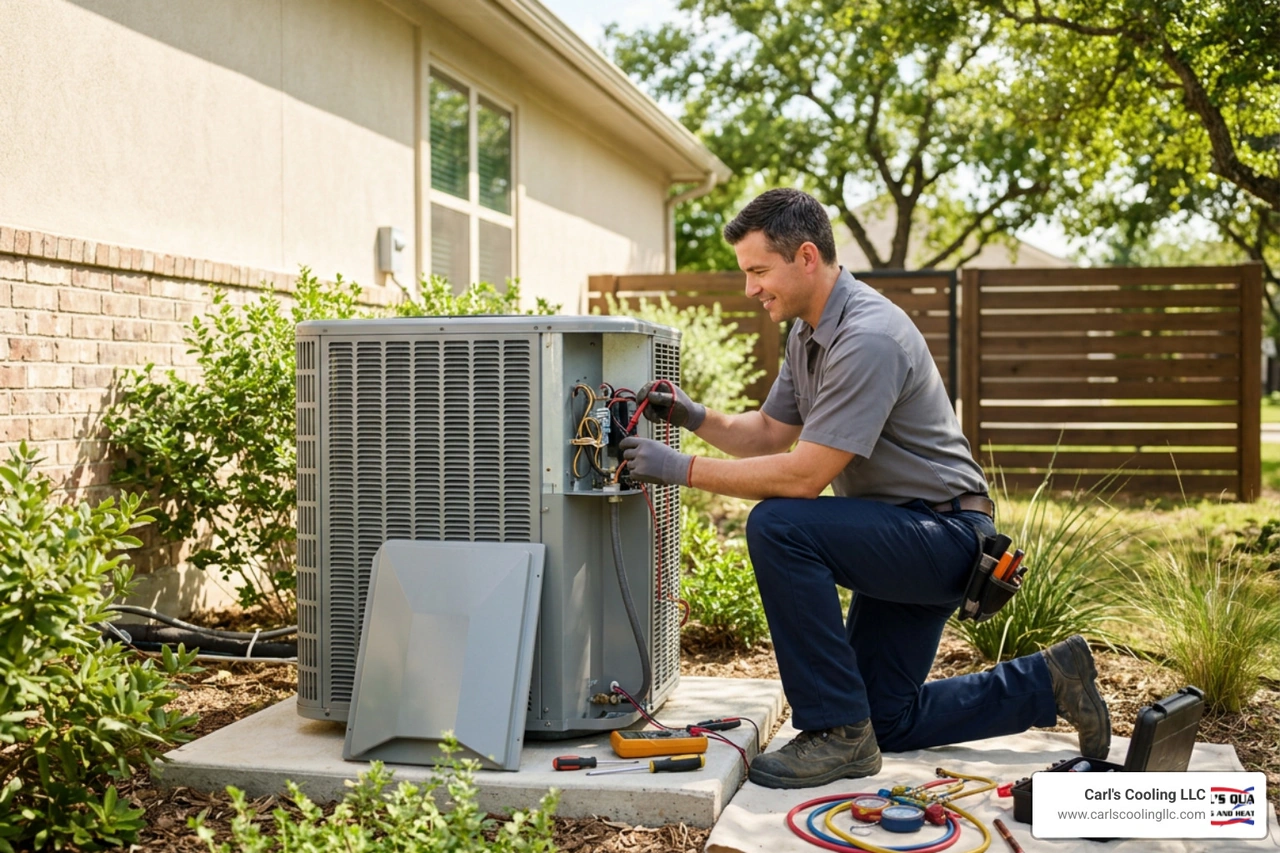
When you work with our professionals, you'll have support through each step of the install process. Whether it's sizing the correct unit, preparing ductwork adjustments, or confirming all the installation requirements, having an experienced team is the best way to avoid setbacks. A professional approach not only ensures that the performance of your HVAC system matches the needs of your household, but also protects your home from damage during setup.
Understanding what happens during the installation can also help reduce surprises and stress. Typically, you can expect:
1. Arrival at the scheduled time with all necessary equipment
2. Removal of the old unit and setup of the new system
3. Connection of electrical components and refrigerant lines
4. Thermostat installation or update
5. Full system testing before completion
It’s also helpful to ask our technicians any questions before they begin. Things like setup location, thermostat placement, or potential noise levels can be talked through ahead of time. That way, you’re fully informed and there are no surprises at the end of the appointment.
Post-Installation Tips
After the installation is done, your job isn’t quite over. Making sure the new system works as expected and stays in good shape over time requires some attention. Right after installation, one of the first things to do is get familiar with your new unit. If you’ve upgraded to a modern thermostat or a high-efficiency model, the controls could be different than what you're used to.
Learning features such as scheduling, fan settings, and energy-saving modes can make a big difference in how well your home stays cool. It's also normal for the system to run slightly differently than your old one. You may notice differences in sound or how quickly it cools your space. These adjustments are common and will feel normal within a few days of use.
To keep things running efficiently after the first few months:
1. Replace air filters every 1 to 3 months as recommended
2. Keep the area around the outdoor unit clear of plants or debris
3. Pay attention to airflow changes in different rooms
4. Schedule a maintenance check within the first year
5. Monitor your energy bill to track improvements in performance
Some homeowners go a step further and set reminders or calendar alerts so they don’t forget these small maintenance tasks. A little attention to these items helps extend the system's life and keeps it working right for years. For example, one homeowner in The Woodlands noticed a big improvement in indoor air quality after switching to a programmable thermostat and setting consistent temperature schedules.
You don’t need to become an expert in HVAC systems, but being proactive about maintenance can save you time, stress, and money down the road.
Enjoying a Comfortable Home in The Woodlands
Getting your new AC system up and running the right way offers peace of mind during the hottest part of the year. A professional installation combined with basic preparation and follow-up checks makes all the difference. It means fewer service calls, steady airflow throughout the house, and a cooling system that works efficiently when you need it most.
Homeowners in The Woodlands know how intense summer heat can be. Taking a few simple steps ahead of your installation day helps the entire process run smoother. With the right system in place and support from trained professionals, your comfort is no longer a question. It becomes part of your everyday life.
If your home is ready for AC installation in The Woodlands, count on the team at Carl's Quality Cooling and Heating LLC to deliver a system that keeps you comfortable throughout the hottest months. For a quick estimate or to book a service visit, please contact us today.