
When temperatures climb during the summer months in Woodforest, having a reliable air conditioning system becomes less of a luxury and more of a necessity. A properly installed AC unit can make a noticeable difference when it comes to keeping your home comfortable, especially on hot and humid days. If your current system is outdated, underperforming, or requiring frequent repairs, installing a new unit may be the best step forward.
Getting a new AC system starts with more than just picking a unit from a catalog. There are several moving parts that need to align to ensure everything works efficiently. Whether it's the right size system, the condition of your ductwork, or local installation guidelines, overlooking small details can lead to bigger issues later. When handled correctly, AC installation serves both short-term comfort and long-term efficiency.
Assessing Your AC Needs
Choosing the right air conditioner for your home in Woodforest isn't just about brand names or cooling capacity. It's about matching your home’s unique layout and usage patterns with a system that’s designed to perform consistently over time. It starts with a professional evaluation to better understand what your home actually needs.
Our professionals focus on several key factors when helping a homeowner select an AC unit:
1. Square footage of the home
2. The number and size of windows
3. How shaded or sun-exposed the home is
4. General insulation levels
5. The size and layout of existing ductwork
6. Indoor air quality concerns or existing ventilation patterns
For example, a single-story home with open floor space and good natural airflow might need a different unit than a two-story home with several smaller rooms. Installing too large of a unit can result in short-cycling, where the system turns on and off too frequently. On the other hand, a unit that’s too small might constantly run, trying to keep up with the heat, which can lead to higher energy bills and avoidable wear.
By working with our professionals, you can avoid missteps and choose a system tailored to your home’s specific needs. The right fit plays a big role in how soon your home cools down, how often repairs are needed, and how much your utility bills total each month.
Pre-Installation Preparations
Once the right AC system is selected for your home, the next step includes final preparations before installation begins. This part of the process ensures that your home is ready to receive the new system and that nothing is left unchecked.
First, our professionals will schedule an in-home evaluation. During this visit, they’ll look closely at:
1. Overall accessibility to the installation site
2. Condition and layout of existing ductwork
3. Space needed for new equipment
4. Electrical load and wiring status
5. Indoor and outdoor airflow considerations
If any updates are needed, like changes to electrical wiring or ductwork expansion, those are discussed ahead of time. This planning stage helps prevent delays and makes sure your system doesn’t run into issues shortly after installation.
It's also a good time to ask questions. Homeowners often ask about noise levels, thermostat options, or where the outdoor compressor will be placed. Small details like these can affect day-to-day experience with a new system. Laying everything out beforehand helps keep surprises to a minimum and ensures a smoother installation from start to finish.
The AC Installation Process
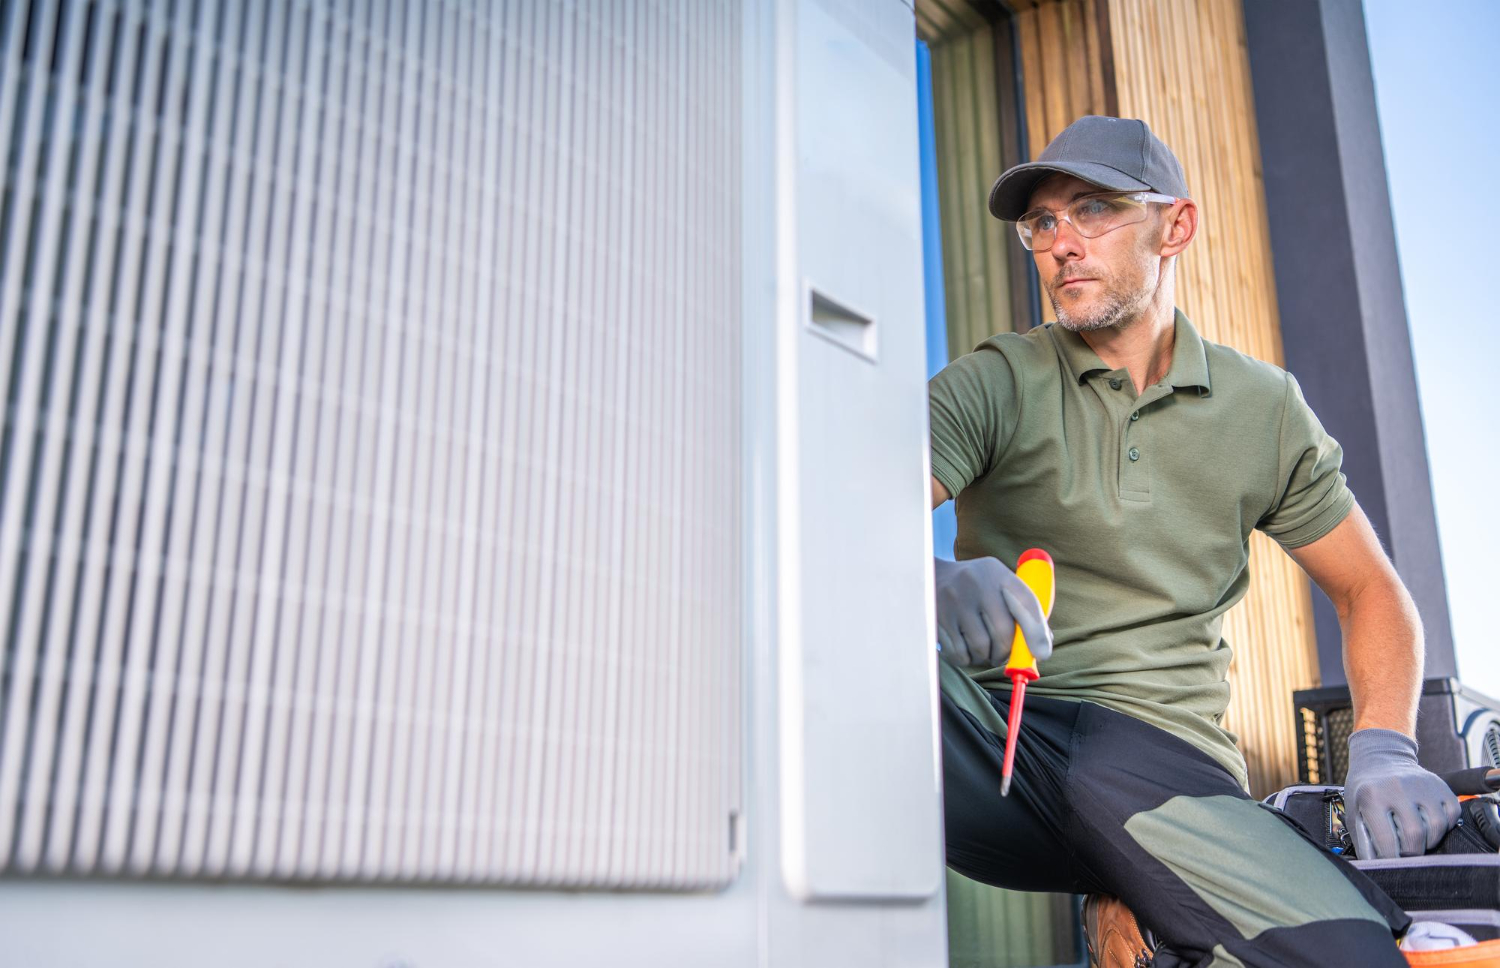
Once everything is planned and prepped, the actual installation can begin. Our technicians start by removing any old equipment, including outdoor units, air handlers, or duct pieces that need replacement. Safe removal is important to avoid damage to nearby structures or wiring. From there, the new equipment is carefully installed according to manufacturer specifications and local requirements.
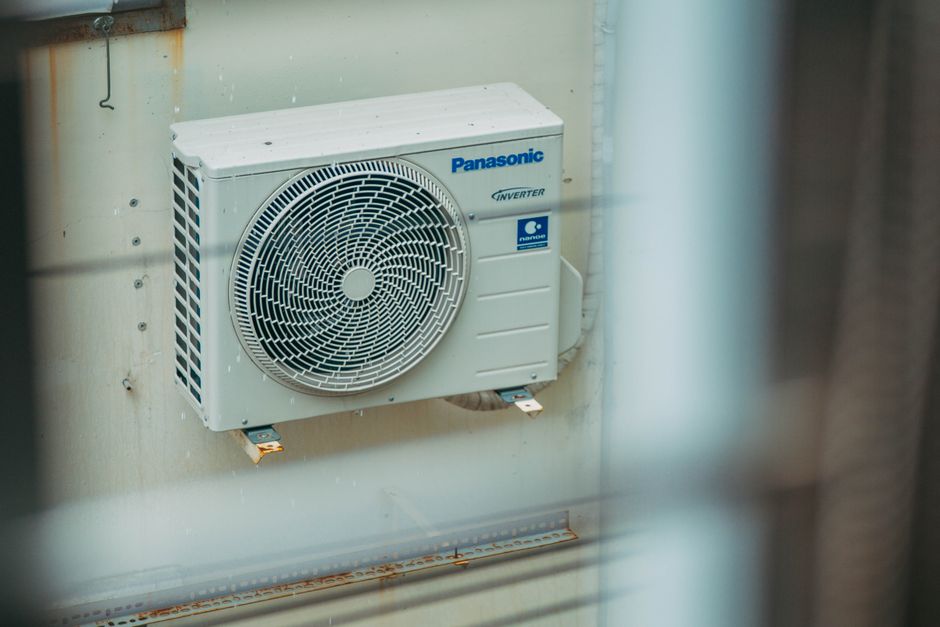
The installation isn't just about placing the unit. It also involves connecting every component correctly and confirming that the system can handle the workload. The outdoor compressor must be level and located where airflow is steady. The indoor components need to be secured and sealed to prevent leaks or inefficiencies. If the ductwork is older, it may be sealed or reinforced to handle the airflow of the new AC system.
Insulation is also checked during this process. Poorly insulated sections can cause cool air loss, which affects how efficiently the system runs. Technicians look for weak points around ducts, attic spaces, and walls where air could escape. Any concerns are addressed on-site to make sure you get the full benefit of the AC unit.
Wiring is the last key element during installation. The electrical system has to support your AC’s power needs. Loose connections or older panels can be a problem, so they’re tested and updated if needed. Once everything is connected and in place, the installation is nearly finished, but final checks are just as important.
Post-Installation Checklist and Ongoing Maintenance
Before calling the installation complete, the new AC system goes through a series of checks. These make sure the system performs as intended and avoids future problems. During this phase, our professionals:
1. Turn on the system to check for proper airflow
2. Confirm that refrigerant levels are correct
3. Inspect the thermostat response and programming features
4. Test for unusual noises or vibrations
5. Review the airflow in different rooms to ensure balanced cooling
This quality check helps catch issues early, before they turn into costly service calls. It also confirms that your AC was installed properly and delivers stable performance across the whole house.
After installation, regular maintenance becomes the next focus. Just like a car needs oil changes, an AC system needs service to continue running well. Seasonal checkups help prevent breakdowns and help your unit last longer. Homeowners are encouraged to stay on top of routine tune-ups, especially before peak usage in summer. Replace filters as needed and watch for signs like weak airflow or unusual noises. When spotted early, these kinds of problems are far easier to fix.
Comfort That Lasts Through the Seasons
In Woodforest, heat and humidity aren’t just occasional problems. They are part of everyday life during summer. That’s why getting an AC system installed the right way matters from the start. A rushed or incomplete job can lead to uneven cooling, higher electricity bills, or uncomfortable rooms that never seem to match the thermostat.
With the right system in place and regular maintenance in mind, homeowners in Woodforest can enjoy more stable indoor temperatures and fewer surprises when it comes to energy usage. Comfort shouldn’t come at the cost of constant troubleshooting. When each step of selection, setup, and follow-up is handled correctly, your cooling system runs stronger and lasts longer.
A good AC installation isn’t just about what happens the day the unit arrives. It’s about giving your home what it needs to stay cool as the season wears on. From everyday use to extra-busy weekends when guests are over, the difference a quality installation makes shows up in ways you’ll keep noticing long after the job is done.
At Carl's Quality Cooling and Heating LLC, we know that a well-executed AC installation in Woodforest can keep your home consistently cool while helping you avoid unexpected breakdowns and rising energy costs. Our experienced technicians focus on every detail to ensure your system is correctly sized, efficiently installed, and built to last. For a quick estimate or to book a service visit, please contact us today.